Discover the vibrant world behind the curtain with this essential guide. Explore key roles, from stage managers to photographers, and uncover the magic that brings productions to life.
Overview of Backstage Roles
Behind the curtain, a diverse team of skilled professionals ensures seamless theater productions. From stage managers coordinating logistics to lighting and sound technicians setting the mood, each role is vital. Costume designers craft characters’ identities, while photographers capture key moments. These backstage roles, though often unseen, form the backbone of live performances, blending creativity and technical expertise to bring stories to life. Understanding these roles offers a deeper appreciation for the effort behind the magic of theater productions.
Importance of Backstage in Theater Productions
Backstage operations are the heartbeat of any successful theater production. They ensure seamless coordination between actors, crew, and technical elements, creating a cohesive and engaging experience for the audience. From prop management to lighting cues, every detail is meticulously orchestrated backstage. This behind-the-scenes work not only enhances the storytelling but also elevates the overall performance quality, making it indispensable to the magic of live theater. A well-organized backstage ensures that every aspect of the production comes together flawlessly, delivering a memorable experience for all.
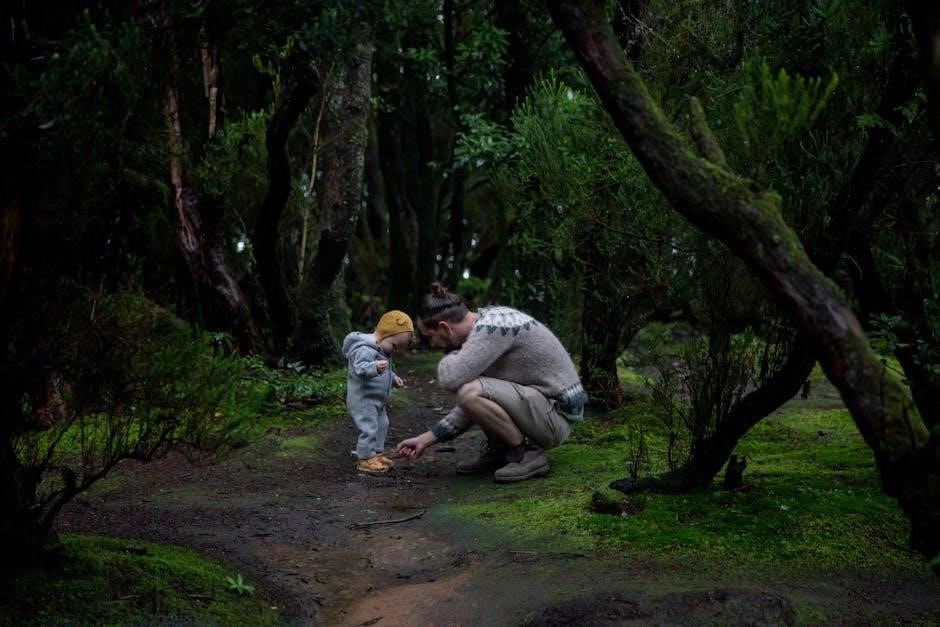
Key Roles Behind the Curtain
Explore the essential roles like stage managers, lighting technicians, and photographers, who work tirelessly to bring the production to life with precision and creativity backstage.
Stage Managers: The Backbone of the Show
Stage managers are the unsung heroes, coordinating every aspect of the production. They oversee logistics, communicate between teams, and ensure everything runs smoothly during performances. From rehearsals to showtime, they manage schedules, cues, and unexpected challenges, keeping the production on track. Their attention to detail and ability to multitask are crucial in maintaining the flow of the show. Without stage managers, the magic of the performance would fall apart, making them indispensable to the success of any production.
Their role begins in pre-production, organizing scripts and coordinating with directors, actors, and technicians. During rehearsals, they document changes and ensure everyone is aligned. Backstage, they manage props, costumes, and set pieces, while maintaining clear communication. Their calm demeanor and problem-solving skills are vital during live performances, ensuring seamless transitions and handling any last-minute issues. Stage managers are the backbone, ensuring the show goes on without a hitch, making their contribution invaluable to the theater’s success.
Lighting and Sound Technicians: Setting the Mood
Lighting and sound technicians are essential in crafting the atmosphere of a production. They use lighting rigs and audio systems to enhance the narrative, evoke emotions, and guide the audience’s focus. Their work transforms the stage, creating immersive environments that draw viewers into the story.
From pre-production planning to live performances, they interpret scripts, design setups, and operate equipment. Advanced software and tools allow precise control over effects, ensuring seamless execution. Their expertise in handling technical challenges ensures the mood remains intact, making them vital to the production’s emotional impact and overall success.
Costume Designers: Bringing Characters to Life
Costume designers play a pivotal role in transforming actors into characters. They research periods, sketch designs, and select fabrics to create attire that reflects personalities, settings, and themes. Their work involves collaboration with directors to ensure costumes align with the production’s vision. From intricate historical pieces to modern streetwear, costumes help actors embody their roles, making the storytelling more authentic and immersive for the audience.
Attention to detail is crucial, as costumes must endure performances while maintaining their aesthetic appeal. Designers often craft or source unique pieces, balancing practicality with artistic expression. Their creativity bridges the gap between script and stage, enriching the visual narrative and enhancing the emotional impact of the performance.
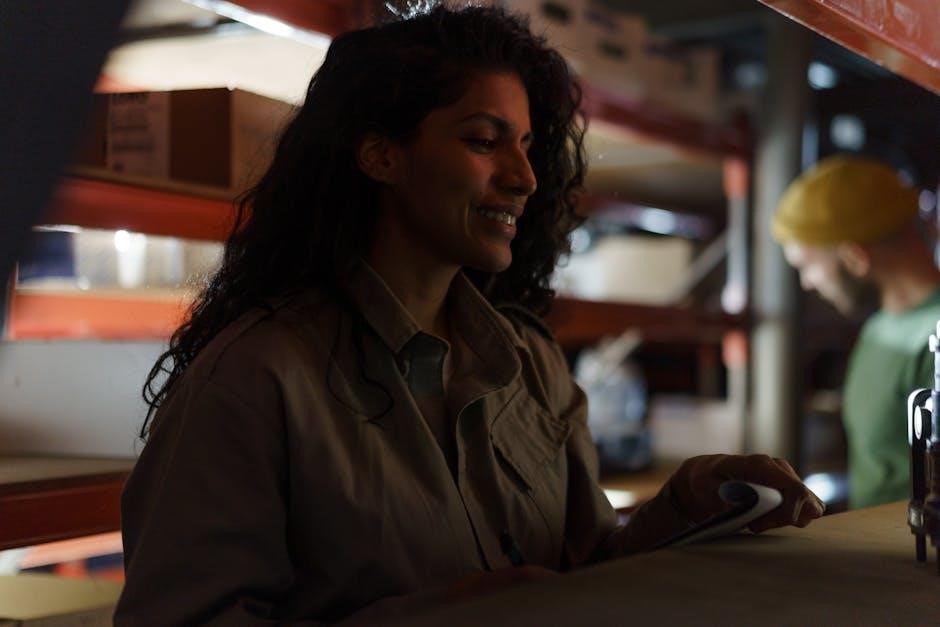
Photographers: Capturing the Magic
Photographers play a vital role in preserving the essence of live performances and backstage moments. They skillfully capture high-quality images of actors, sets, and costumes, creating visual stories that promote the production and document its journey. From rehearsals to final performances, photographers ensure that the magic of the theater is immortalized. Their work requires precision, creativity, and adaptability to lighting and settings, making them indispensable in showcasing the artistry and effort behind the scenes.

The Production Process
The production process seamlessly transitions from pre-production planning to rehearsals, backstage setup, and final execution, ensuring a smooth and captivating performance.
Pre-Production Planning
Pre-production planning is the foundation of a successful show, involving script analysis, scheduling, and budgeting. It includes set and costume design conceptualization, casting, and crew assignments. This phase ensures all elements align with the production’s vision, setting the stage for smooth execution. Proper planning addresses potential challenges early, allowing the team to allocate resources efficiently and prepare for rehearsals. A well-organized pre-production phase lays the groundwork for a cohesive and engaging performance.
Rehearsals and Fine-Tuning
Rehearsals are the heartbeat of production, where ideas transform into action. Actors refine their performances, while stage managers and technicians perfect cues and transitions. This phase involves constant adjustments, ensuring every detail aligns with the director’s vision. Collaborative problem-solving is key, as the team fine-tunes lighting, sound, and set changes. Rehearsals build chemistry among cast and crew, fostering a cohesive and polished final product. Each practice brings the show closer to its prime, ready to captivate audiences on opening night.
Backstage Setup and Preparation
Backstage setup is crucial for smooth production execution. This involves organizing props, arranging costumes, and positioning tools for quick access. Stage managers ensure all elements are in place, while lighting and sound technicians conduct final checks. Communication devices are tested, and the crew is stationed for seamless coordination. Meticulous preparation ensures every detail is ready, creating an environment where the performance can unfold without hiccups. This phase requires precision and teamwork to set the stage for success.
Execution: The Final Show
Execution is the pinnacle of backstage efforts, where meticulous preparation comes to life. Stage managers coordinate cues seamlessly, while the crew handles props, costumes, and set changes with precision. Quick adjustments and problem-solving occur in real-time to maintain the show’s flow. Photographers capture pivotal moments, preserving the magic for posterity. The backstage team’s dedication ensures a flawless performance, transforming months of planning into an unforgettable experience for the audience. This is where teamwork and preparation culminate in theatrical excellence.

Essential Skills for Backstage Success
Backstage success demands sharp problem-solving, adaptability, and clear communication. Organization, attention to detail, and teamwork are crucial, ensuring seamless coordination and a flawless live performance experience.
Problem-Solving and Adaptability
Backstage environments are dynamic and unpredictable, requiring sharp problem-solving skills and adaptability. From addressing technical issues to handling last-minute changes, staying calm under pressure is crucial. Quick thinking ensures seamless transitions, while flexibility allows team members to pivot when unexpected challenges arise. These traits are essential for maintaining smooth operations and delivering a polished performance. They enable backstage teams to thrive in fast-paced, high-stakes situations, ensuring every aspect of the production runs flawlessly.
Communication and Teamwork
Effective communication and teamwork are the cornerstones of a successful backstage operation. Clear dialogue ensures everyone understands their roles and responsibilities, while collaboration fosters a cohesive workflow. Strong interpersonal skills help resolve conflicts and maintain morale. Team members must actively listen, provide feedback, and support one another to ensure seamless execution. Open lines of communication enable quick decision-making, allowing the team to adapt and respond efficiently to any challenges. This collective effort is essential for delivering a polished and professional performance every time.
Tools and Resources
Essential tools include software for backstage management, physical equipment, and unified platforms like Backstage, which streamline production processes and enhance efficiency for seamless performances.
Software for Backstage Management
Backstage management software streamlines production processes, offering tools for catalog management, documentation, and integration. Platforms like Backstage unify infrastructure, services, and tools, creating a seamless environment. Roadie HQ, built on Backstage, exemplifies how software enhances efficiency. These solutions enable teams to manage software catalogs, documentation, and workflows effectively, ensuring smooth operations. By centralizing resources, they simplify collaboration and improve productivity, making them indispensable for modern productions.
Physical Tools and Equipment
Physical tools and equipment are essential for backstage operations. Lighting rigs, stage machinery, and prop management tools ensure smooth transitions. Communication devices like headsets and comms systems keep teams coordinated. Hand tools such as wrenches, pliers, and multitools are indispensable for quick adjustments. These physical resources, combined with organizational systems, are vital for executing productions seamlessly, ensuring every element works together to create an immersive experience for the audience.

Challenges and Solutions
Backstage challenges include last-minute changes, technical issues, and limited resources. Solutions involve meticulous planning, backup systems, and clear communication to ensure seamless production execution and adaptability.
Common Backstage Challenges
Backstage work often faces challenges like tight schedules, limited budgets, and technical malfunctions. Last-minute script changes or prop misplacements can cause stress, while communication breakdowns hinder coordination. Additionally, managing multiple roles simultaneously and ensuring safety protocols are met add pressure. These challenges require quick thinking and adaptability to maintain the production’s flow and quality, ensuring the show goes on seamlessly despite backstage hurdles.
Practical Solutions for Smooth Operations
Ensuring seamless backstage operations requires effective communication, detailed planning, and adaptability. Implementing shared digital calendars and checklists helps track tasks and deadlines. Regular team meetings and clear role assignments minimize confusion. Having backup plans for prop malfunctions or technical issues is essential. Encouraging open dialogue and fostering a collaborative environment allows the team to address challenges swiftly. By staying organized and prepared, the backstage crew can efficiently manage unexpected situations, ensuring the production runs smoothly from start to finish.

Tips for Newcomers
Start by observing experienced professionals and attending workshops to gain insights. Be proactive in learning roles and responsibilities, and ask questions to build your knowledge and network.
Getting Started in Backstage Work
Begin by understanding the various roles and responsibilities behind the scenes. Observe experienced professionals, attend workshops, and seek mentorship to gain hands-on experience. Be proactive in learning the basics of stage management, lighting, and sound. Network with industry professionals to build connections and opportunities. Start small, volunteering for local productions to build your portfolio and confidence. Stay curious, ask questions, and be open to learning from others to grow in this dynamic field.
Learning from Experienced Professionals
Learning from seasoned experts is crucial for mastering backstage work. Seek mentorship from industry veterans to gain insights into best practices and problem-solving techniques. Attend workshops, seminars, and masterclasses to expand your knowledge. Networking with professionals can open doors to valuable guidance and opportunities. Shadowing experienced crew members during productions allows you to observe and learn firsthand. Absorb their advice, ask questions, and apply their strategies to refine your skills and build confidence in your role.
Case Studies and Success Stories
Explore real-life examples of successful backstage teams, such as the notable Cambridge theatre crew, showcasing their teamwork, coordination, and impact on productions, highlighting Backstage’s effectiveness.
Successful Backstage Teams in Action
Eloise Davis highlights the Cambridge theatre team’s seamless coordination, showcasing how stage managers, lighting technicians, and photographers collaborate to create captivating performances. Their stories reveal how teamwork, adaptability, and attention to detail ensure smooth productions, overcoming challenges like tight schedules and technical issues. These real-life examples demonstrate the backbone of successful shows, inspiring aspiring backstage professionals to excel in their roles and contribute to the magic of live theater.

Future Trends in Backstage Management
Technology is revolutionizing backstage operations, with AI and automation enhancing efficiency. Backstage platforms now unify tools, streamline processes, and create seamless developer experiences, shaping modern productions.
Technology’s Role in Modern Productions
Technology is transforming backstage management by streamlining processes and enhancing collaboration. Tools like Backstage unify infrastructure, services, and documentation, creating a seamless environment for developers and teams. AI and automation improve efficiency, while customizable platforms enable tailored solutions. This digital evolution ensures smoother operations, from pre-production planning to execution, making modern productions more innovative and sustainable. The integration of software catalogs and developer portals further empowers teams to manage and explore software effortlessly, driving the future of backstage operations.