Welcome to the world of homemade jelly making with Sure-Jell! This guide provides easy-to-follow instructions for creating delicious, perfectly set jellies using Sure-Jell pectin.
From classic fruit flavors to creative combinations, Sure-Jell helps you achieve professional-quality results with minimal effort and maximum flavor.
1.1 What is Sure-Jell?
Sure-Jell is a popular pectin product designed to help homeowners create delicious homemade jams and jellies. Derived from fruit, it naturally enhances gel formation, ensuring a perfect set every time. Easy to use and versatile, Sure-Jell works beautifully with a variety of fruits, from plums and lemons to raspberries and apricots, making it a go-to choice for crafting flavorful preserves at home.
1.2 Importance of Following Instructions for Perfect Jelly
Following Sure-Jell instructions ensures a perfectly set jelly with optimal consistency and flavor. Precise measurements and timing are critical, as pectin reacts best under specific conditions. Deviating from guidelines can result in runny or overcooked jelly. By adhering to the steps, you achieve a professional-quality finish, making your homemade preserves enjoyable for years. Proper technique guarantees both visual appeal and taste, turning simple fruits into a delightful culinary creation.
Ingredients and Tools Needed
Gather essential ingredients like Sure-Jell pectin, fresh or frozen fruit, sugar, lemon juice, and water. Basic kitchen tools include a large pot, strainer, and glass jars for storage.
2.1 Essential Ingredients for Sure-Jell Jelly

To make Sure-Jell jelly, you’ll need fresh or frozen fruit, granulated sugar, Sure-Jell pectin, lemon juice, and water. The fruit provides natural flavor and color, while sugar enhances sweetness. Sure-Jell pectin acts as a gelling agent, ensuring the jelly sets properly. Lemon juice adds acidity, balancing the flavors. Water helps dissolve the pectin and sugar during cooking. These ingredients work together to create a perfectly textured and flavorful jelly.
2.2 Necessary Kitchen Tools and Equipment
A large, heavy-bottomed pot is essential for boiling the jelly mixture to prevent scorching. A candy thermometer ensures the mixture reaches the proper temperature for setting. Strainers or cheesecloth are needed to strain fruit pulp and seeds. Glass jars with lids are required for storing the jelly, along with a ladle for filling jars. A wooden spoon or spatula is handy for stirring, and a clean workspace is vital for efficiency. Optional tools include a food mill for processing fruit.
Preparing the Fruit for Jelly
Wash, sort, and remove stems or pits from fresh fruit. Crush or chop fruit finely to release juices. Use a food mill or blender for smooth consistency.
3.1 How to Crush or Chop Fruit for Jelly
Start by washing and sorting the fruit, removing stems, seeds, or pits. Use a fruit crusher, food mill, or blender to finely chop the fruit into small pieces.
Ensure even consistency for proper juice extraction. Avoid over-chopping, as this can make the fruit too smooth. For berries, crush gently to release juices without pulverizing.
3;2 Tips for Extracting Juice from Fresh Fruit
Combine fresh or frozen fruit with a small amount of water in a large pot. Bring to a simmer and gently mash the fruit to release its natural juices.
Let the mixture sit for a few minutes to allow juices to flow freely. Strain the mixture through cheesecloth or a fine-mesh sieve to separate the juice from solids.
Avoid squeezing the solids, as this can make the jelly cloudy. Measure the extracted juice to ensure you have the amount called for in your recipe.

Cooking the Jelly
Cooking the jelly involves combining fruit juice, sugar, and Sure-Jell pectin in a large pot. Bring the mixture to a rolling boil, stirring constantly to prevent scorching.
Once boiling, reduce heat slightly and simmer until the jelly reaches the desired set. Use the sheet test to check consistency, ensuring a perfect, smooth result.
4.1 Step-by-Step Guide to Boiling the Mixture
Combine fruit juice, sugar, and Sure-Jell pectin in a large pot. Bring the mixture to a rolling boil over high heat, stirring constantly to prevent scorching.
Once boiling, reduce heat to medium-low and simmer for 1-2 minutes. Use a candy thermometer to ensure the mixture reaches 220°F for a proper set. Remove from heat immediately to avoid overcooking.
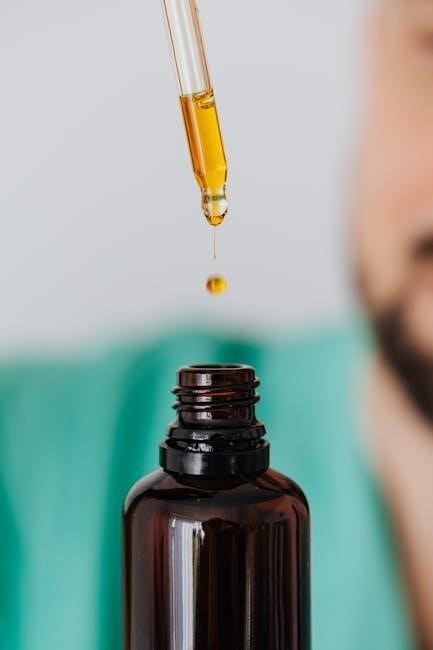
4.2 Adding Sure-Jell Pectin for the Perfect Set
For a perfect jelly set, mix Sure-Jell pectin with a small amount of sugar before adding it to the fruit mixture. This prevents clumping and ensures even distribution.
Stir constantly, bring the mixture to a boil, then reduce heat and simmer for 1-2 minutes. Use a candy thermometer to confirm the mixture reaches 220°F for ideal consistency. Proper pectin addition ensures a firm, clear jelly without overcooking.

Testing the Jelly
Test jelly consistency by letting it drip from a spoon; it should form a thick, syrupy sheet. Proper set ensures clarity and firmness;
5.1 The Sheet Test for Checking Consistency
Perform the sheet test by letting the jelly drip from a spoon. Properly set jelly forms a thick, syrupy sheet that hangs evenly. If it’s too runny, cook it a few minutes longer. Avoid overcooking, as it can lead to a too-firm texture. This test ensures your jelly has the perfect balance of clarity and firmness for spreading.
5.2 Using a Spoon to Determine Readiness
Dip a cool, clean spoon into the boiling jelly mixture and let it drip back slowly. If the jelly forms thick, heavy drops that hold their shape, it’s ready. If not, continue boiling and testing in short intervals. Proper readiness ensures the jelly will set correctly without being too runny or overly firm. This simple method guarantees a perfect texture every time.
Canning and Storing the Jelly
Proper canning and storing ensure your homemade jelly remains fresh and safe to eat. Use sterilized jars and store in a cool, dark place for long shelf life.
6.1 Sterilizing Jars and Lids for Safe Canning
Sterilizing jars and lids is crucial for safe canning. Wash jars and lids in hot soapy water, then rinse thoroughly. Place them in a pot of boiling water for 10-15 minutes to ensure all bacteria are eliminated. Use tongs to carefully remove them and let them dry on a clean cloth. This step prevents contamination and ensures your jelly stays fresh and safe to eat.
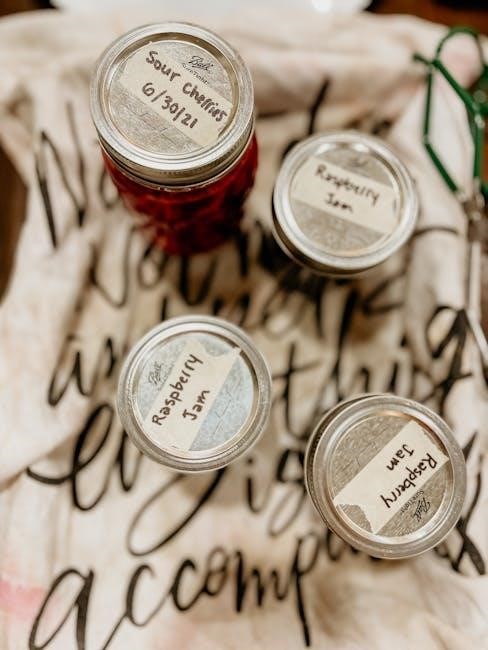
6.2 Proper Storage Methods for Homemade Jelly
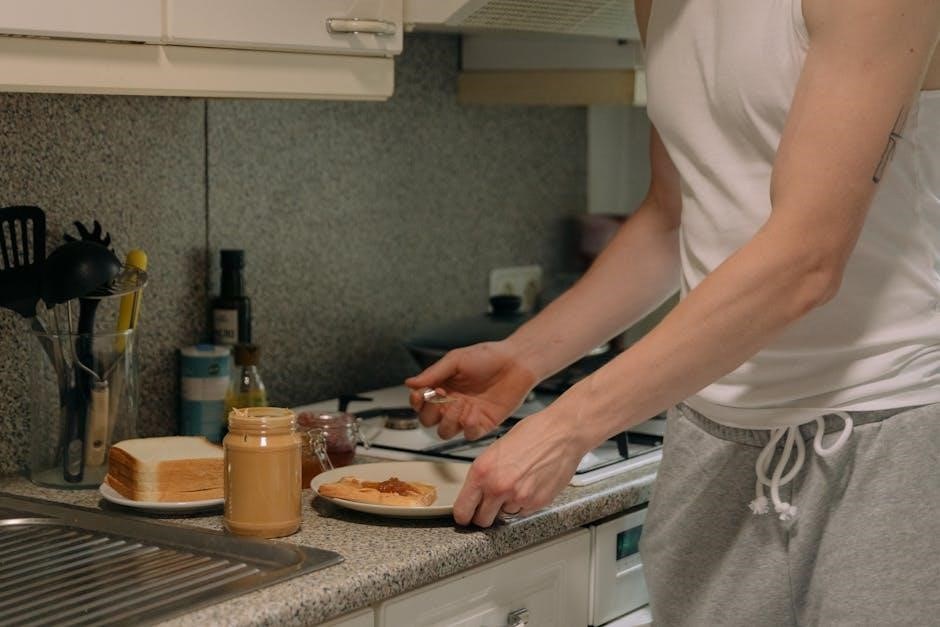
Store sealed jars of homemade jelly in a cool, dark place to preserve flavor and texture. Jars can be kept in the pantry for up to six months. Once opened, refrigerate the jelly to prevent spoilage. Always use a clean utensil when serving to maintain freshness. Proper storage ensures your homemade jelly remains delicious and safe to enjoy for months.
Troubleshooting Common Issues
Troubleshoot jelly issues like runny consistency or crystallization by adjusting cooking time or pectin ratio. Sure-Jell ensures a perfect set with proper techniques and measurements.
7.1 Fixing Runny or Overcooked Jelly
If your jelly turns out runny, it may be due to insufficient pectin, too much sugar, or not reaching the proper boil. To fix, re-cook with additional Sure-Jell.
For overcooked jelly, which can become too thick, blend it lightly or add a small amount of water to adjust consistency before re-canning.
7.2 Addressing Crystallization in Jelly
Crystallization in jelly can occur due to overcooking or improper storage. To fix, gently re-melt the jelly and stir until crystals dissolve. Adding a small amount of water may help restore smoothness. Ensure proper storage in a cool, dry place to prevent recurrence. Avoid overheating during initial cooking to maintain the jelly’s texture and clarity.
Creative Variations for Sure-Jell Jelly
Elevate your jelly-making by experimenting with unique flavors. Add spices like cinnamon or herbs like mint for a twist. Combine fruits for a mixed berry delight, creating personalized recipes that impress;
8.1 Adding Spices or Herbs for Unique Flavors
Elevate your jelly by infusing it with spices or herbs for distinctive flavors. Try adding cinnamon for warmth, nutmeg for a subtle twist, or herbs like mint or basil for freshness. Experiment with combinations, such as ginger for a spicy kick or cloves for depth. Use whole spices, ground powders, or fresh herbs, adjusting quantities to taste. For a refined touch, steep spices in the juice before cooking or add herbs toward the end for vibrant flavor.
8.2 Combining Fruits for Mixed Berry Jelly
Create a vibrant and flavorful mixed berry jelly by blending your favorite fruits. Combine juicy strawberries, tart blueberries, and sweet raspberries for a delightful mix. Experiment with blackberries, elderberries, or cranberries for added complexity. When mixing, ensure each fruit contributes its unique flavor and texture while maintaining a balanced taste. Use a ratio of 2:1:1 for primary, secondary, and accent fruits, adjusting based on sweetness and pectin levels for the perfect set. This method allows for endless creativity, yielding a jelly that’s both colorful and delicious. The result is a harmonious blend that showcases the best of each fruit’s characteristics, making it a standout in homemade preserves. Pairing fruits with complementary flavors enhances the overall taste, while contrasting ones add intriguing notes. This approach not only diversifies your jelly options but also makes each batch a unique culinary experience. Whether you prefer a classic trio or an adventurous mix, mixed berry jelly offers versatility and timeless appeal.